Let's quickly build a website using ScissorHands.NET!
Prerequisites
Scaffolding App
Create a new empty web app.
dotnet new web -n MyScissorHandsAppAdd a NuGet package to the app.
dotnet add ./MyScissorHandsApp package ScissorHands.Web --prereleaseNOTE: ScissorHands.NET is currently in public preview. Therefore, make sure to add the
--prereleaseoption when adding theScissorHands.Webpackage.Open
Program.csfile and replace all the code lines with the following code snippet.using ScissorHands.Web; var app = new ScissorHandsApplicationBuilder(args) .AddLayouts<MainLayout, IndexView, PostView, PageView, NotFoundView>() .Build(); await app.RunAsync();Build the app.
dotnet restore && dotnet build
That's it!
Running App
Run the app. To run the app locally, always use the
--previewoption.dotnet run --project ./MyScissorHandsApp -- --previewYou'll be able to see the web app URL on the terminal. The default URL is
http://localhost:5000, but it may vary depending on yourProperties/launchSettings.json.Open a web browser and navigate to the web app. Then, you'll be able to see the following screen.

Congratulations! You've just run your first ScissorHands.NET app!
Adding First Post
Let's add a blog post. Create a
contents/postsdirectory.# zsh/bash mkdir -p ./MyScissorHandsApp/contents/posts# PowerShell New-Item -ItemType Directory -Path ./MyScissorHandsApp/contents/posts -ForceCreate a markdown file,
hello-world.mdunder thepostsdirectory.# zsh/bash touch ./MyScissorHandsApp/contents/posts/hello-world.md# PowerShell New-Item -iTemType File -Path ./MyScissorHandsApp/contents/posts/hello-world.md -ForceOpen
hello-world.mdand add the following contents.--- title: Hello, world slug: hello-world description: My first blog post author: The ScissorHands --- ## It's my first blog post How exciting!Run the app again.
dotnet run --project ./MyScissorHandsApp -- --previewOpen a web browser and navigate to the web app. Then, you'll be able to see your list of blog posts.
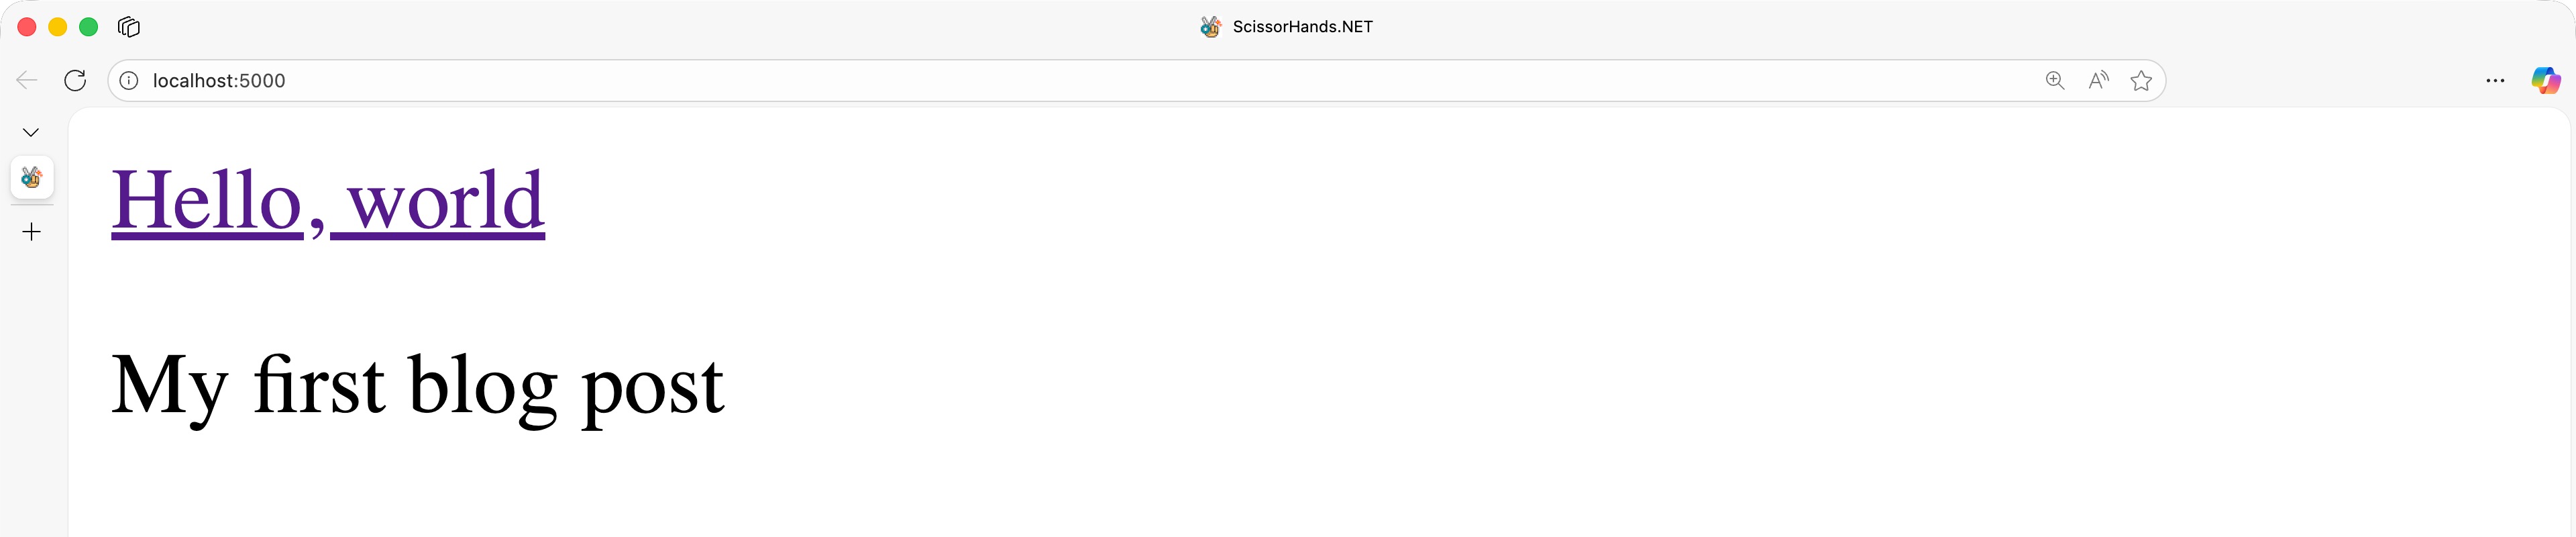
Click the blog post title,
Hello, world. Then you'll be able to see the blog post content.
For more details about writing blog posts, see the Posts page.
Adding Theme
ScissorHands.NET supports the theme feature that makes your web app more user friendly. You can use any official and community-contributed themes available. Let's use the Minimal Blog theme for now.
Create a
themesdirectory within your app.# zsh/bash mkdir -p ./MyScissorHandsApp/themes# PowerShell New-Item -ItemType Directory -Path ./MyScissorHandsApp/themes -ForceClone the theme repository under the
themesdirectory.pushd ./MyScissorHandsApp/themes git clone https://github.com/getscissorhands/minimal-blog.git popdAlternatively, download the theme file directly from the repository and unzip under the
themesdirectory.# zsh/bash version=$(curl -s https://api.github.com/repos/getscissorhands/minimal-blog/releases/latest | jq -r '.tag_name') zipfile="minimal-blog-$version.zip" curl -OL https://github.com/getscissorhands/minimal-blog/releases/download/$version/$zipfile unzip $zipfile -d ./MyScissorHandsApp/themes/minimal-blog# PowerShell $version = (Invoke-RestMethod -Uri "https://api.github.com/repos/getscissorhands/minimal-blog/releases/latest").tag_name $zipfile = "minimal-blog-$version.zip" Invoke-WebRequest -Uri "https://github.com/getscissorhands/minimal-blog/releases/download/$version/$zipfile" -OutFile $zipfile Expand-Archive -Path $zipfile -DestinationPath "./MyScissorHandsApp/themes/minimal-blog" -ForceAdd the
Sitesection inappsettings.jsonand declare the theme directory.{ "Site": { "Theme": "minimal-blog" } }Run the app again.
dotnet run --project ./MyScissorHandsApp -- --previewYou'll see the app with the theme applied!
For more details about themes, see the Themes page.
Adding Plugins
ScissorHands.NET supports the plugin feature that makes your web app more flexible and extensible. You can use any official and community-contributed plugins available. Let's use the Google Analytics plugin for now.
Update the
Pluginssection inappsettings.jsonand declare the Google Analytics plugin. You can acquire theMeasurementIdvalue from the Google Analytics dashboard.{ "Plugins": [ { "Name": "Google Analytics", "Options": { "MeasurementId": "G-XXXXXXXX" } } ] }Add a NuGet package.
dotnet add ./MyScissorHandsApp package ScissorHands.Plugin.GoogleAnalytics --prereleaseOpen the
MainLayout.razorfile of your theme and add theGoogleAnalyticsCompomentcomponent right after the<head>tag.<head> <GoogleAnalyticsComponent Name="Google Analytics" /> ... </head>Run the app again
dotnet run --project ./MyScissorHandsApp -- --previewOpen the HTML view page.
You'll see the app with the Google Analytics script applied!
For more details about plugins, see the Plugins page.
Congratulations! You've just added your first blog post to ScissorHands.NET!
👈 Setup | 👆 Documentation | Build 👉